You might have thought about making your own stickers but didn’t know where to start. It’s actually a fun and easy way to show your creativity, customize your belongings, and make them feel unique. Whether you’re looking for a creative project, a family activity, or a way to make personalized gifts for friends, making stickers is a great option. This step-by-step guide will help you get started. Let’s dive in!
What You’ll Need
Here’s a quick list of materials you’ll need to make your stickers:
Paper for your designs: Cardstock works best if you want something sturdy, but regular printer paper is fine for simple designs.
Parchment paper: This helps your stickers stay removable and easy to handle.
Clear packing tape: Wide, clear tape is ideal. Avoid matte or cloudy tape since it might dull your designs.
Scissors or a craft knife: You’ll need these to cut out your designs.
Markers, pens, or a printer: You can either draw your own designs or print them out.
Ruler
Before you start, make sure your workspace is clean and well-lit. This will help you avoid mistakes and ensure everything looks great. If you’re working with kids, let them pick or draw their designs—it makes the project more fun for everyone!
Step-by-Step Instructions
1. Create Your Sticker Designs
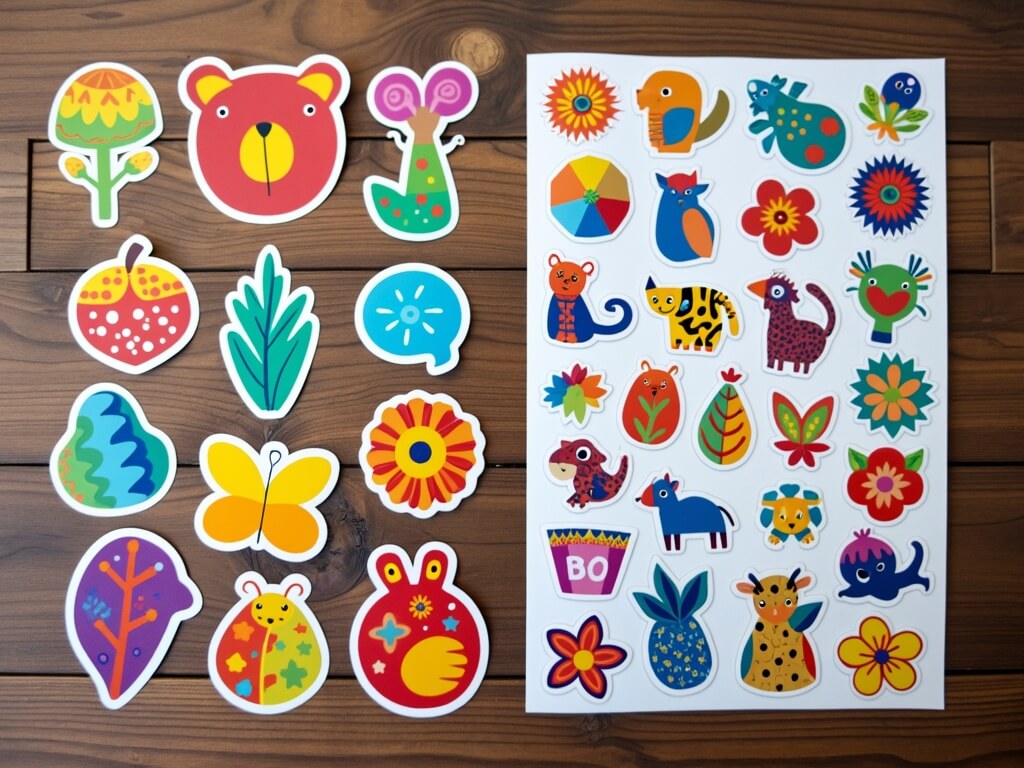
The first step is to decide on your designs. You can either draw your own or find designs online.
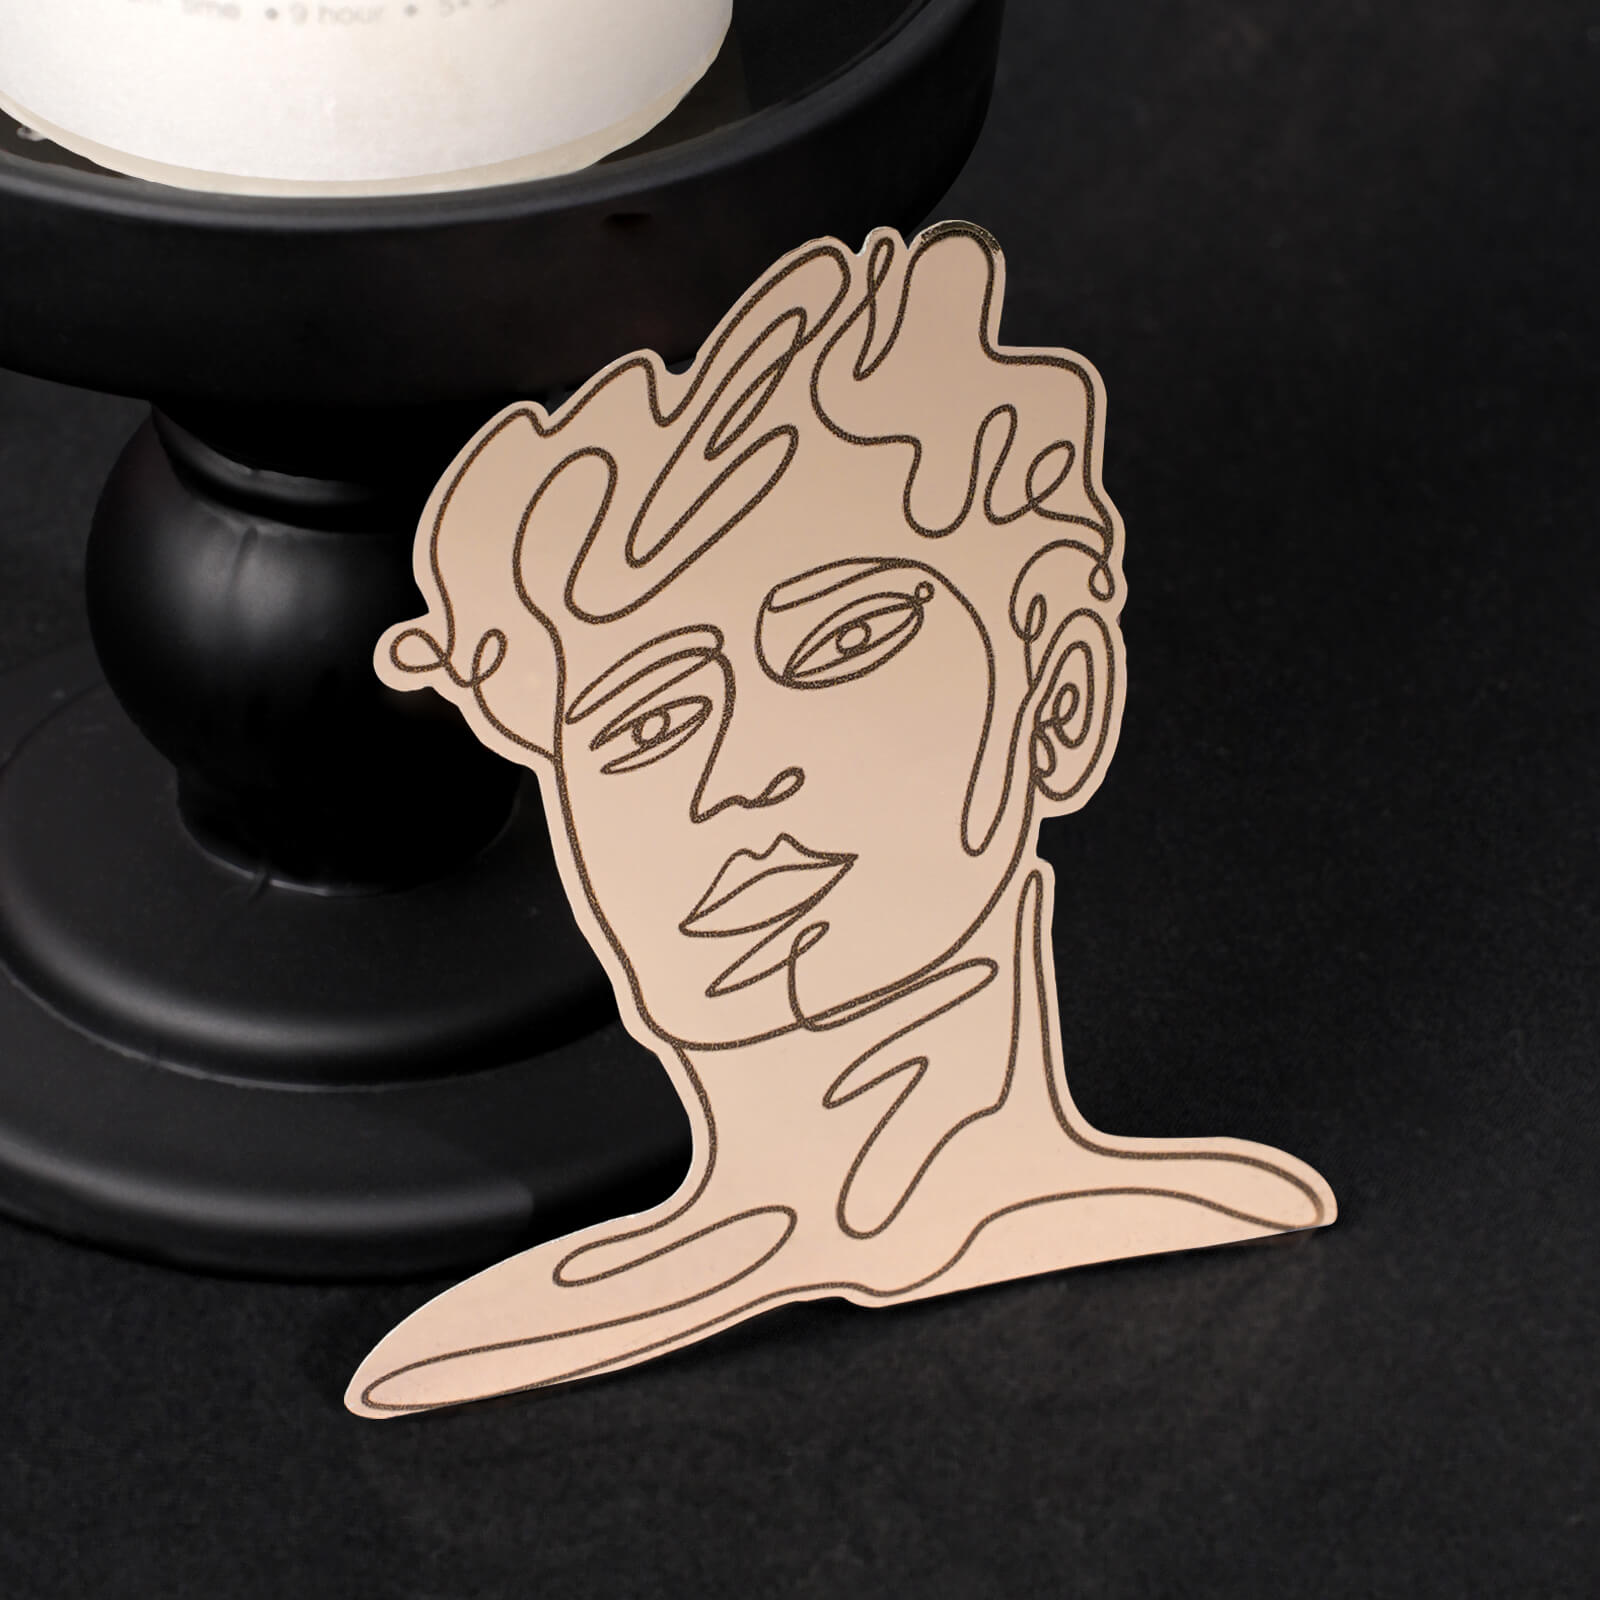
Draw your own designs: If you have vivid images in your mind that you’re eager to bring to life, or if you enjoy the process of drawing, grab some paper or cardstock and start drawing! Use markers, pens, or colored pencils. Bright, bold colors work best because they make your stickers stand out.
Print your designs: If you prefer digital designs, check out websites like Freepik, Pixabay, or StickPNG. Download your favorite designs, then print them using a color printer. Make sure the images are high-quality so they look sharp.
If you’re drawing by hand, take your time to make your designs unique. If you’ve printed your designs, let the ink dry completely before moving on so you don’t smudge anything.
2. Cut Out Your Designs
Now it’s time to cut out your designs. Use scissors or a craft knife to carefully cut along the edges.
You can leave a small border of blank space around the design (about 2-3mm) if you want a nice outlined look. This makes the stickers look polished. For more detailed shapes, a craft knife might be easier to use.
Take your time here. Careful cutting makes a big difference! If you’re doing this with kids, make sure to help them with tricky edges or sharp tools.
3. Set Up Your Workspace
Before you apply the tape, lay a sheet of parchment paper on your work surface. This will keep the tape from sticking to your table and make the stickers easier to peel off later.
Smooth out the parchment paper so it’s flat. Any wrinkles or folds could affect the final stickers. If your workspace is bright, it’ll be easier to see what you’re doing.
4. Add Packing Tape to the Parchment Paper
Unroll a strip of clear packing tape and press it sticky-side down onto the parchment paper.
Use your hands or a flat tool (like a ruler or an old credit card) to smooth out the tape. This will help remove any air bubbles or wrinkles.
If your designs are bigger than one strip of tape, overlap another strip slightly so everything is fully covered. Make sure there aren’t any gaps!
5. Place Your Designs on the Tape
Now, take your cut-out designs and place them face-up on the non-sticky side of the tape. Gently press them down so they stick.
Make sure each design is flat and centered. Once it’s on the tape, it’s tough to move, so take your time placing it. Try not to touch the tape too much so you don’t leave fingerprints or dust.
If you’re doing this with kids, let them have fun arranging their designs. It’s a great way for them to be creative!
6. Seal the Designs with More Tape
To protect your stickers and give them a glossy finish, cover the designs with another strip of packing tape. Place this strip sticky-side down over the designs.
Start at one edge and press the tape down slowly over the image. Smooth it out as you go to avoid air bubbles. If you see any bubbles, push them to the edges with your fingers or a flat tool.
This step is important because it keeps your stickers looking neat and makes them more durable.
7. Cut Out Your Stickers
Now it’s time to cut out your stickers for the final step. Use scissors or a craft knife to carefully cut around each design.
Leave a small border of tape around the edges to make sure the layers stay sealed. This will help prevent peeling later.
Go slow and steady for smooth, clean edges. If your designs are detailed, a craft knife can give you more control. If kids are helping, make sure you supervise them during this step.
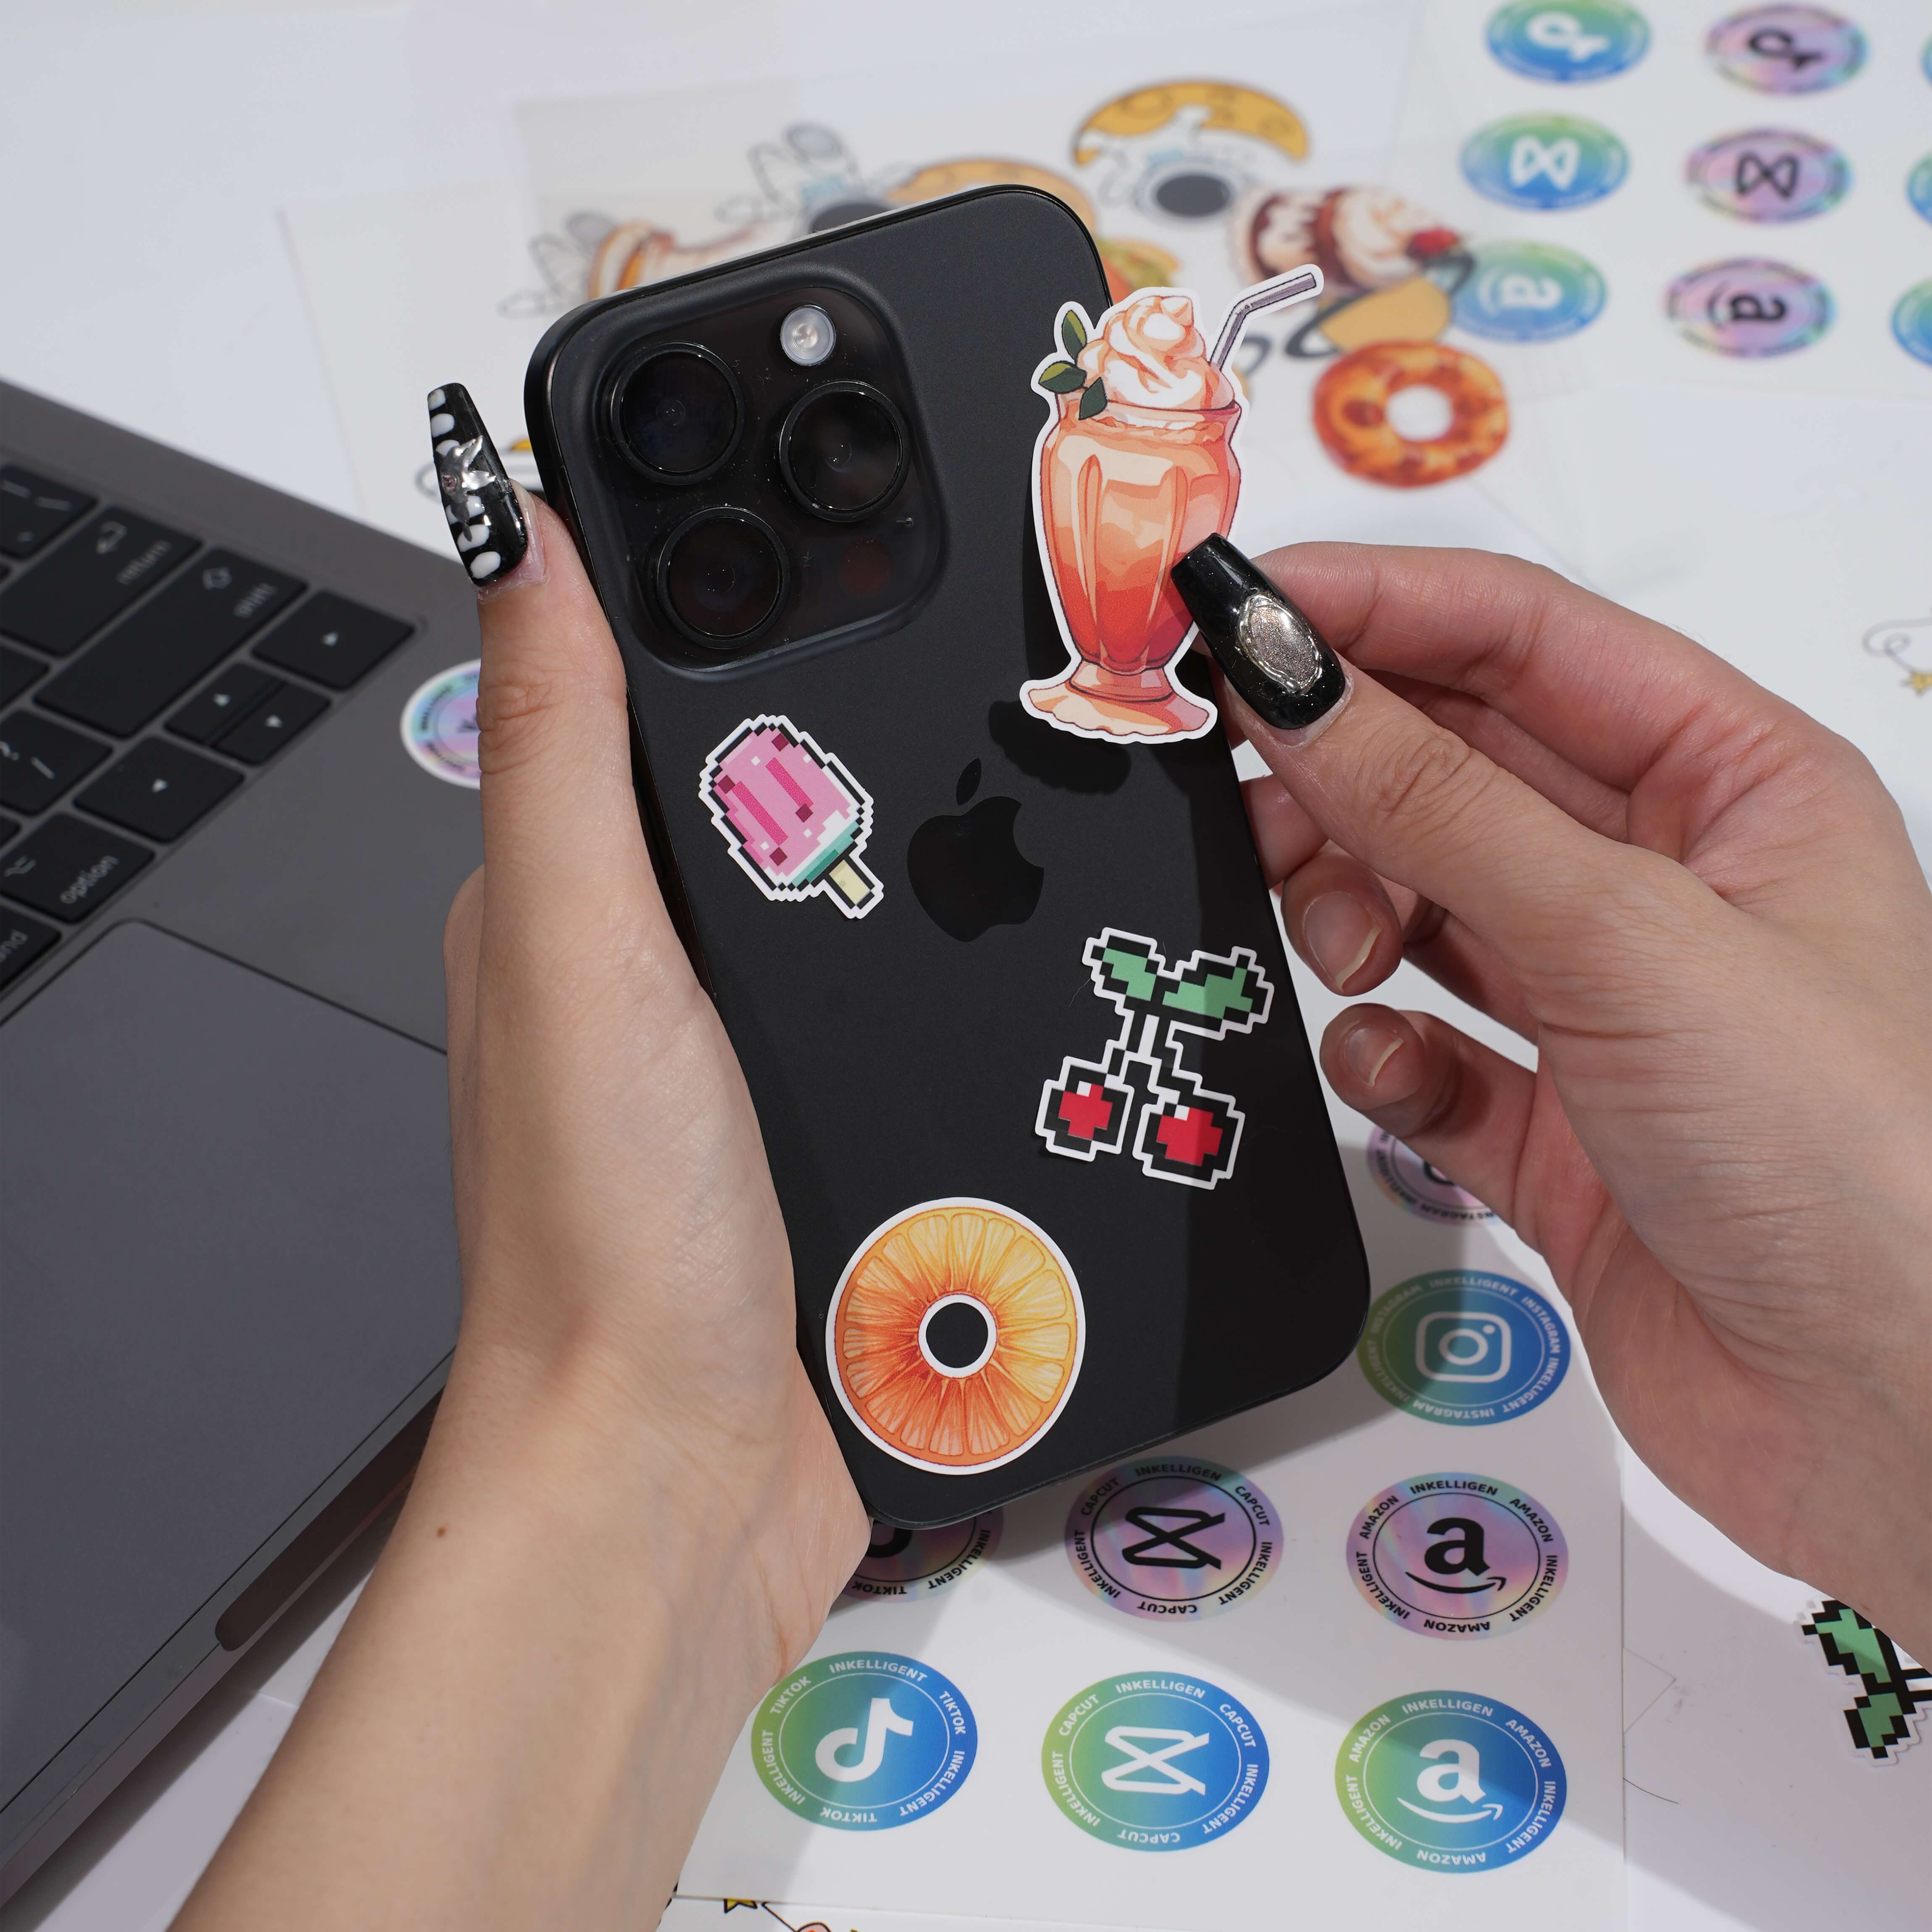
8. Use Your Stickers!
There you have it! Your stickers are ready to use. You can stick them on notebooks, water bottles, laptops, or even use them to decorate cards and gifts. Making stickers is such a simple but satisfying project, and now you can create your own designs whenever you want. Have fun and enjoy your new creations!