Introduction
Have you ever wanted to make your things feel more like you with your own touch? Making your own stickers is a fun and easy project. Anyone can do it. You can make sticker designs for your planner, your laptop, or give them as gifts to friends. You get to control how each sticker will look in the end. From sketching what is in your mind to printing your sticker, you will find all the steps here in this guide. This text will help you learn what to do so you can bring your own sticker ideas to life.
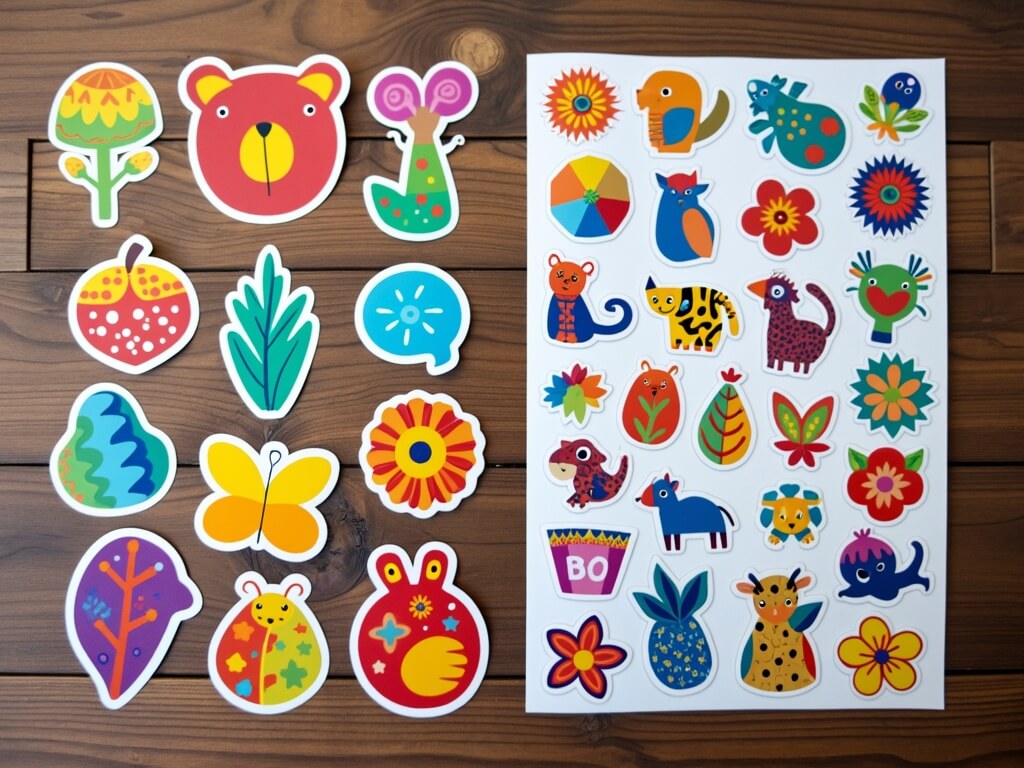
Essential Materials Needed to Make Stickers at Home
You do not need to go to a special store to start making stickers. Most people have what they need at home to make a sticker. You will need paper for your sticker design. You also need an adhesive to help your sticker stick. A pair of scissors is there to cut out your design. So, with paper, adhesive, and some scissors, you can get started right now.
You can make stickers by using paper and pieces of tape. If you want your stickers to look better, you can use sticker paper. The tools and materials you pick will depend on what you plan to do and how much money you want to spend. Now, let’s talk about the different kinds of paper, tools, and glues you can use.
Types of Paper and Sticker Sheets
The most important part of making a sticker is the paper you pick. For something easy at home, you can draw on thin computer paper. You can also cut pictures from magazines. When it's time to use the sticker, put on some adhesive. If you will not use them right away, keep them on a wax paper sheet. This keeps the sticky part safe.
For a more high-quality look, sticker paper is the best choice. The paper has adhesive on the back, so it sticks well. You can get sticker paper in different finishes, like matte, glossy, and clear. Matte sticker paper looks not shiny and feels like regular paper. Glossy sticker paper makes your sticker colors look bright and more lively.
You can find different types of sticker paper to use for your project. There are options like vinyl sticker paper if you want the sticker to last longer. You can also use printable Avery labels if you want a quick and easy way to make a sticker. The best choice depends on what you are looking for. If you want labels or planner stickers, matte sticker paper is a good pick. But if you want your sticker to look bright and shiny, you might want to pick a glossy or vinyl finish. Avery labels work well for all these needs, making your sticker look just the way you want.
Basic Art Supplies and Tools
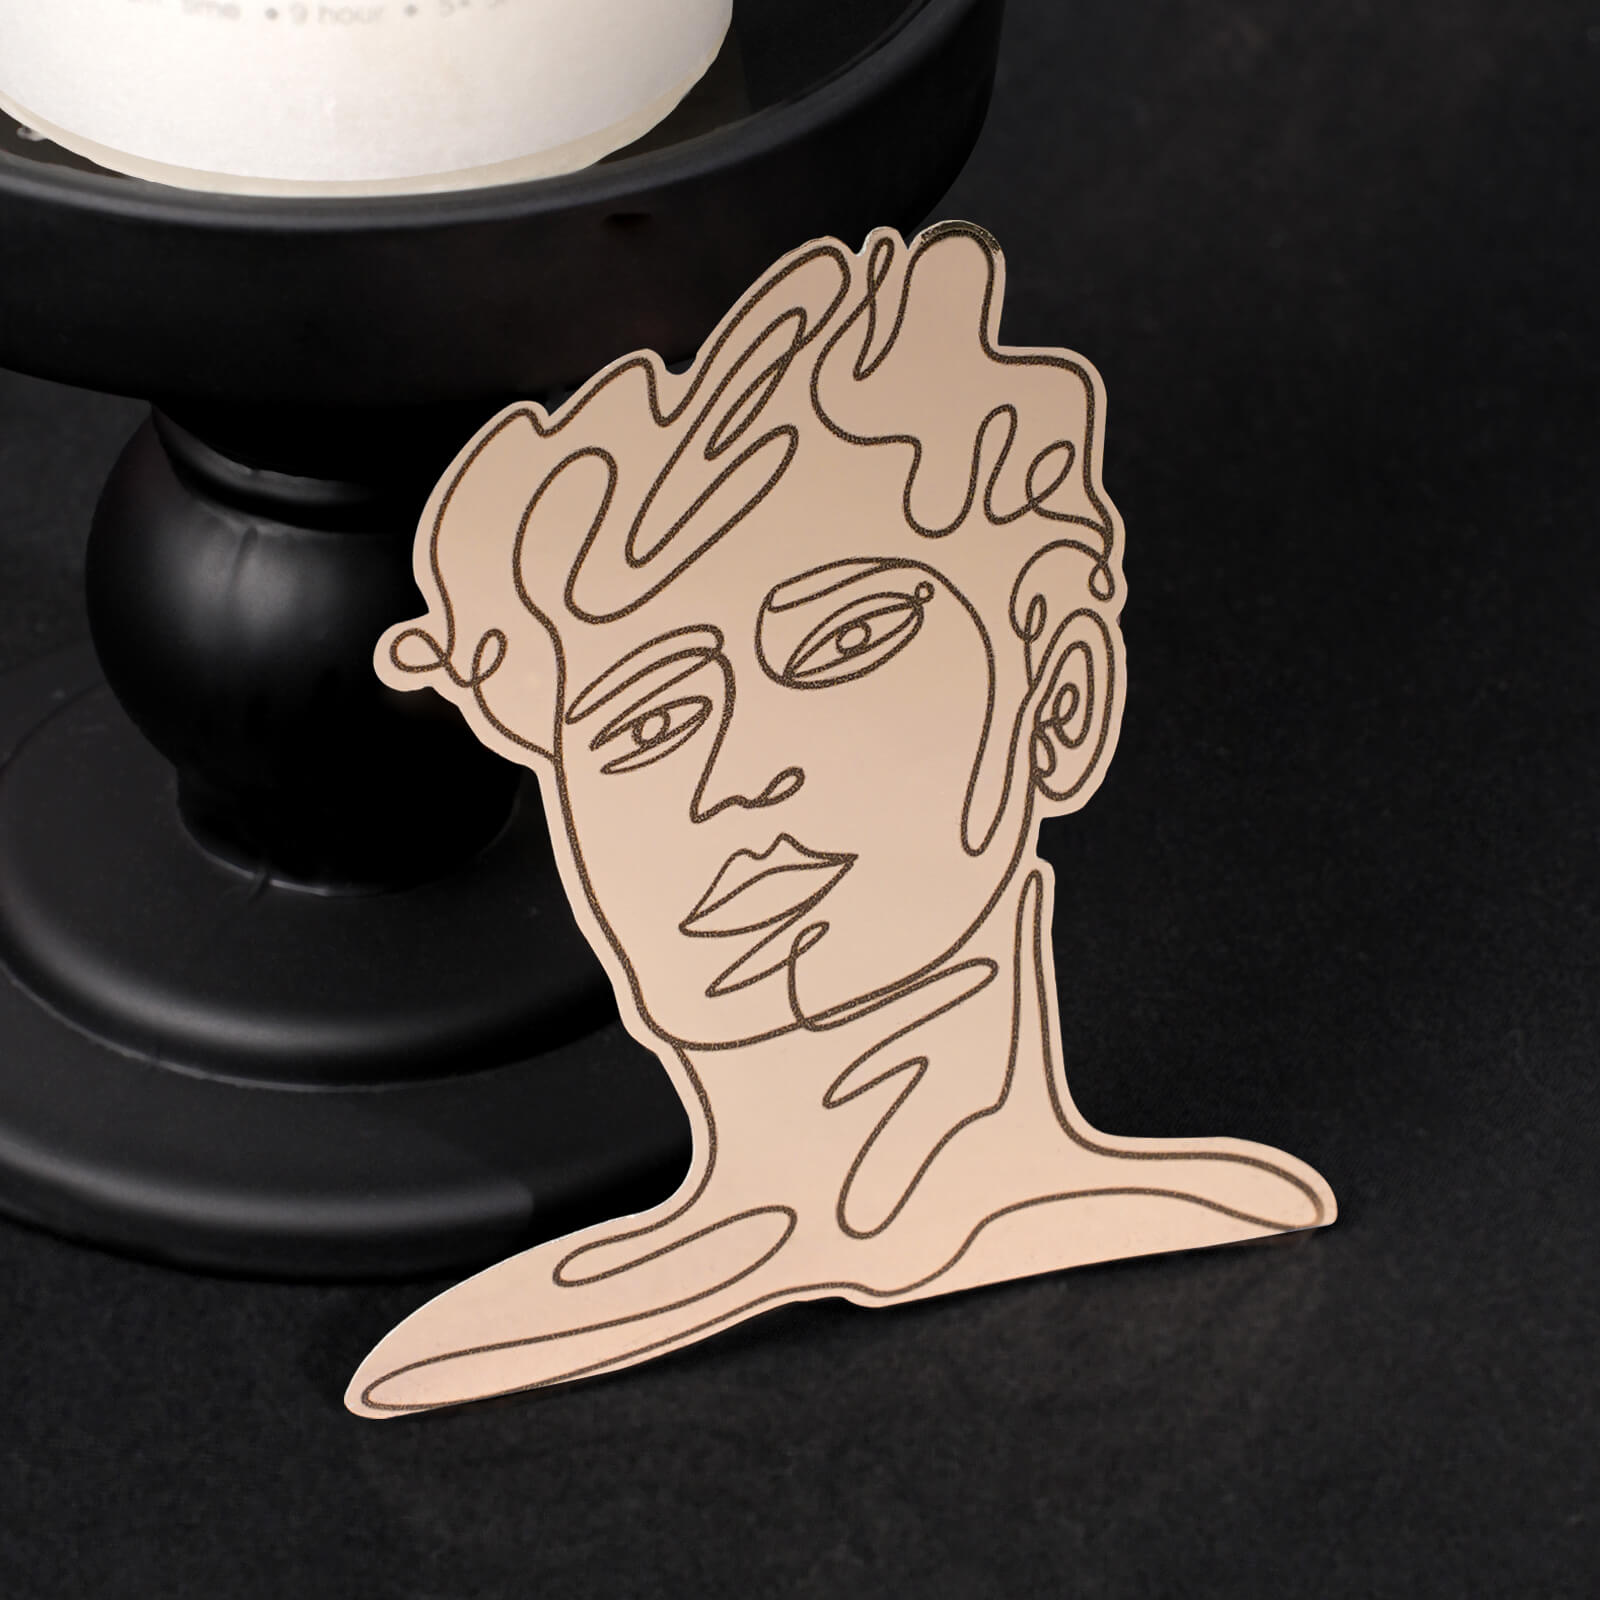
To make your own sticker artwork, you can use many different tools. Colored pencils, markers, and paint pens are great if you want to draw by hand. You can draw right on your paper or sticker sheet. This way, you get a sticker that is one of a kind.
If you like digital design, you can use tools like the Wacom Intuos drawing tablet or an iPad with Procreate. These help you make detailed artwork. After you finish your designs, you can print them out. A lot of design programs also have templates. These make it easy to get started when you need some ideas.
After you finish your design, you need to cut it out. A good pair of scissors will help you get clean edges on your sticker. If you want to make shapes that are hard to cut or if you want to create sticker sheets where each design can be peeled off, an X-Acto knife can help with that. You will also need a printer if you are not drawing your designs by hand.
Adhesives and Tape for DIY Stickers
Yes, you can make a sticker with only paper and tape. You do not need sticker paper to do this. There are a few ways to stick your designs if you do not have sticker paper at home. The most important thing is to use a strong adhesive. This can be a glue you buy at the store or one you make at home, depending on what you have and what you need for your sticker.
A well-known DIY way is to use packing tape. You have to place some packing tape over the front of your design. After that, you can use a sticker maker. You could also put double-sided tape on the back instead. This way helps you make a sticker that is strong and resists water. That means you can make stickers with regular paper. You can also put ink right onto pieces of tape for a sticker that looks clear.
For other ways to stick things, take a look at these simple adhesive options:
- Double-sided tape: Put it on the back of your cutout design. You will have a sticker right away.
- Homemade glue: A mix of gelatin, water, and sugar will make a sticky adhesive. You can lick it for a sticker, just like the glue you get on an envelope.
- Repositionable glue: Use this if you want to stick and move your creation many times. It will not leave any leftover adhesive.
- Contact paper: Draw your sticker on the shiny side. After that, cut out the design and peel off the backing.
Choosing the Right Sticker Paper for Your Project
Choosing the right sticker paper is important for how good and strong your sticker will be in the end. The sticker paper you pick should match what you want to use the sticker for. Think about it. Are you making stickers for journaling? Maybe you need stickers to put on a water bottle. Or, you might want your stickers for labeling your products.
From glossy and matte looks to tough vinyl, each kind gives something different. You get easy picks from brands like Avery. But you need to know how things like regular paper and vinyl feel first. This will let you pick the right one for your job. Let’s check out some things to think about.
Inkjet vs. Laser Printer Sticker Paper
Before you print your sticker paper at home, it is important to check that the paper works with your printer. There are two kinds of printers: inkjet and laser. Each one needs a different type of paper to make sure your sticker comes out nice. If you use the wrong sticker paper for your printer, the ink may smudge or the sticker may not stick well. Always choose the right sticker paper before you start printing.
Inkjet printers use small drops of ink on the paper. This makes them good for printing stickers with lots of detail and for photos. Laser printers use heat to stick toner to the page. They do well for high amounts of printing and give clear text. When you get sticker paper, always look at the box. Make sure the sticker paper is right for your printer, like inkjet or laser. This helps you get the best results for your stickers and avoid problems with printing.
Here’s a quick comparison to help you choose:
| Feature | Inkjet Printer | Laser Printer |
|---|---|---|
| **Technology** | Sprays liquid dye or pigment-based ink. | Uses heat to make the toner powder stick. |
| **Best For** | Good for high-quality images and bright colors. | Good for printing a lot, text, or graphics that are sharp. |
| **Paper Type** | Needs sticker paper made for inkjet printers. | Needs sticker paper made for laser printers. |
| **Common Use** | Used by home crafters and small businesses. | Works well for office or when you need a lot of printing. |
Waterproof and Durable Options
If you want your sticker to last when placed on cars, helmets, or water bottles, you should pick sticker paper that works well with water and is tough. Vinyl sticker paper is the best option for this. Vinyl is thick and strong. The material does not let water in, and it handles everyday use without breaking or ripping.
To help your vinyl stickers last, you should choose paper that has UV protection. This keeps colors from fading in the sun. Your designs will stay bright for a longer time. When printing, using waterproof ink with vinyl paper helps to protect the stickers from water. This is the best way to keep them safe from moisture.
If you do not have waterproof ink, you can still keep your sticker safe. Put a clear laminate sheet on top of your sticker design to make a strong layer over it. A good, strong adhesive is also important. This way, your sticker will stay in place, and it will not come off, no matter where you use it.
Budget-Friendly Sticker Paper Choices
You do not need to spend a lot if you want to make good-looking stickers. The sticker paper you use can be simple and still make your sticker projects turn out well. There are many sticker paper choices that do not cost much but still look good. These work great for many projects, especially when you do not need your sticker to be waterproof.
Matte sticker paper is usually the most affordable option. It looks like regular paper and works great for indoor uses. You can use it for planner stickers, labels, or any crafts that are not going to get wet. The ink soaks into the paper, so the colors look soft and not too bright. For the best stick, put the sticker on a flat surface that is clean.
Here are some ideas for making stickers that will not be hard on your wallet:
- Matte Sticker Paper: This is the go-to item when you need cheap sticker paper for simple stickers.
- Avery Mailing Labels: You get these in many shapes and sizes. They are good for making your own sticker or label fast.
- Bulk Paper Sheets: Buying sticker paper in big packs can help cut down the price of each sheet.
- DIY Methods: For the lowest cost, use regular paper and tape or glue you make at home. You don't have to buy special sticker paper for this.
How to Design Custom Stickers Using Free Online Tools
Making your own sticker designs can be a lot of fun. You do not have to be a pro in graphics to make it happen. With free online tools, you can start from a blank page or use design templates. This way, anyone can make good, sheet, and special sticker graphics. You just pick templates, make the sticker feel like yours, and see how great your graphics look.
These platforms have the best images, fonts, and other tools for you to use in your sticker designs. You can pick from lots of choices to make stickers the way you want. Start fresh with a blank space or change a ready-made template. Anybody can make great sticker designs without much trouble. Now, let's look at some of the best tools that help you make stickers.
Creating Sticker Designs in Canva
Canva is a great and easy-to-use place to make custom stickers. It is good for beginners. With even the free plan, you get to use a big set of design templates, fonts, and graphics. You can use these to make your own artwork. To get started, just look for "sticker" templates. This shows layouts that are already the right size and you can change them to fit what you want.
The drag-and-drop tool helps you add text, pick colors, and upload photos with ease. You can start a project from the ground up or change a template to match what you have in mind. This way of working helps you if you feel stuck or need a design right away.
When you feel good about your sticker artwork, you can download it as a high-quality file to use for printing. Canva’s website says you can use their design platform to draw your own sticker illustration, or you can put together different parts to get the look you want. Source: Canva, [https://www.canva.com/]
Using Mobile Apps for Personalized Stickers
Yes, you can find many mobile apps that help you make custom stickers on your phone or tablet. These apps let you create your own stickers for things like social media or messages. You can also use them if you want to print your custom stickers for other uses.
If you like making art on your tablet, you can use apps like Procreate on the iPad. The app has a lot of brushes and simple tools. You can sketch, paint, and draw cool sticker designs in it. If you have Adobe Photoshop, there is Adobe Photoshop Sketch. You can use it anywhere and even get brushes from your computer's Photoshop. This helps people make sticker designs the way they want, with easy-to-use tools.
Here are a few popular apps to help you design custom stickers:
- Procreate: This is a good and not too expensive app for drawing and making cool graphics on the iPad. It is full of features for people who want to make art and works well for many users.
- Adobe Creative Cloud Apps: You will get Photoshop Sketch and Illustrator Draw with it. They work well when you make vector graphics or try photoshop on your phone or tablet.
- Canva Mobile App: You will find the same great features that you get in the desktop app here, too. It is good for anyone who wants to design graphics on the go when they are out.
- Cricut Design Space: This app is free. You can use it to make stickers and design things. The good thing is that you can use it on both Windows and Mac computers. [Source: Cricut, https://design.cricut.com/]
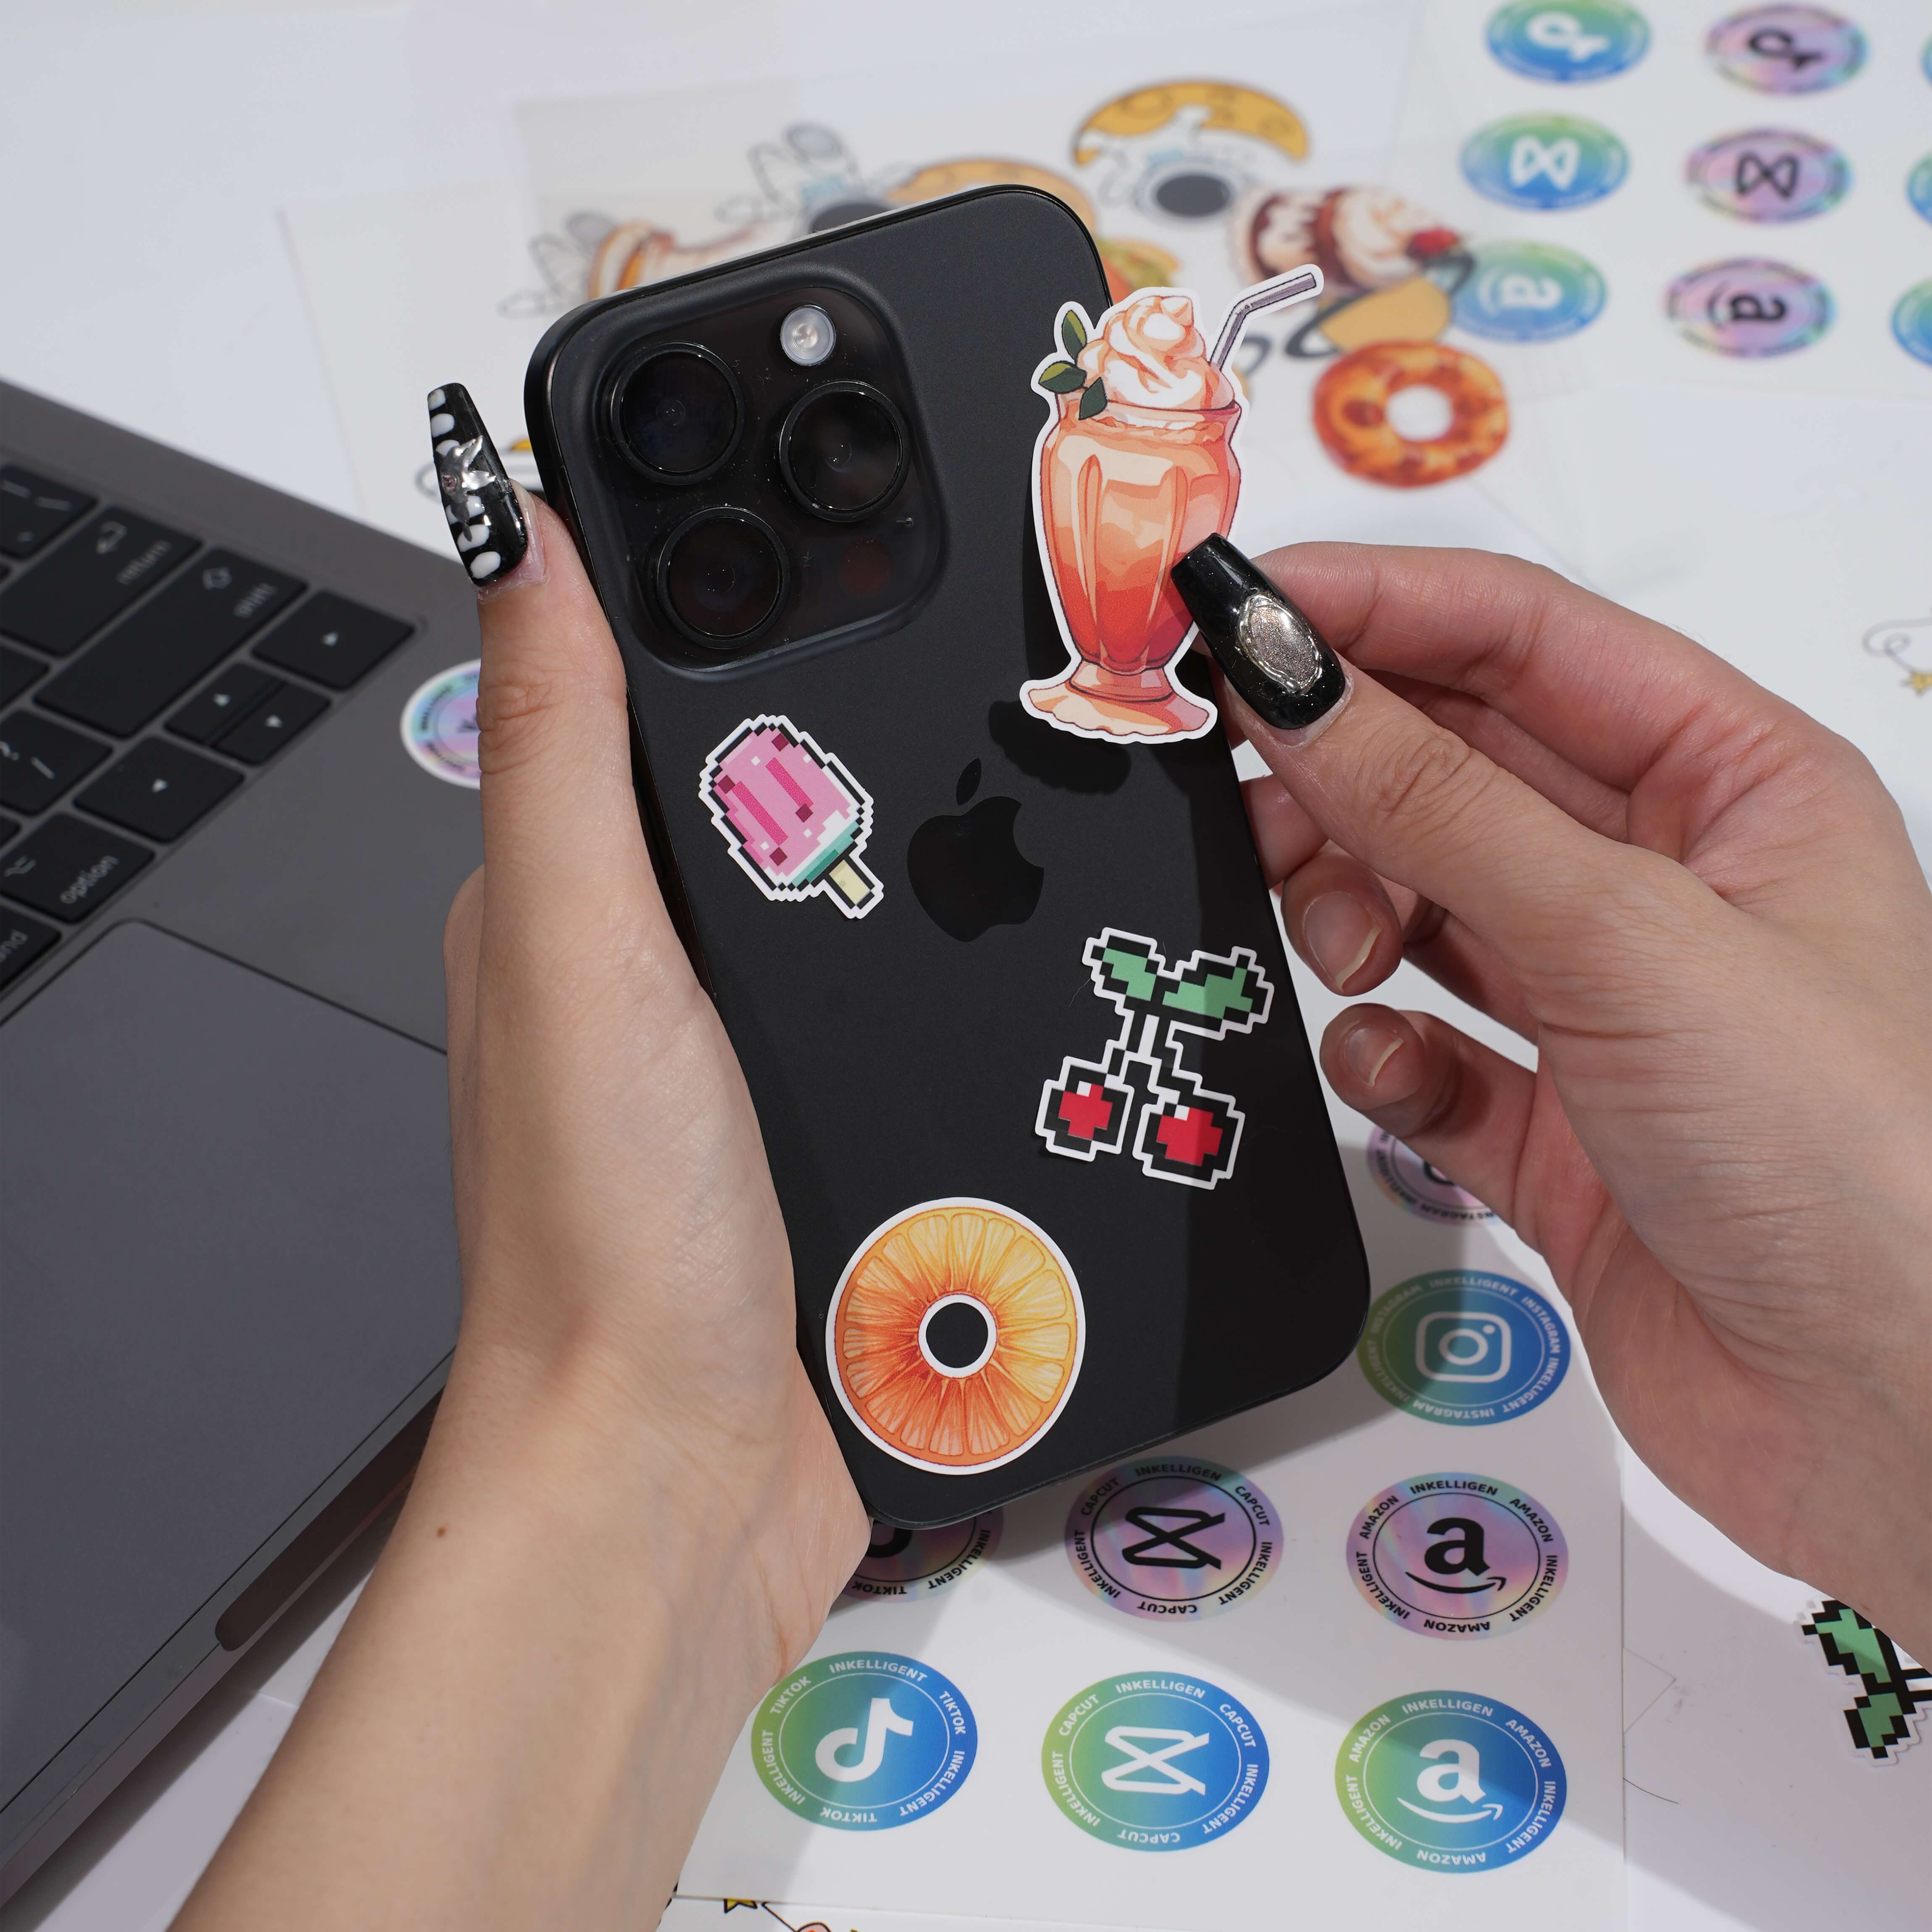
Tips for Making Stickers for Social Media and Gifts
Making personalized stickers is a fun way to create gifts for friends and family. The best way to do this is to make sticker designs that mean something to the person who will get them. You can think about inside jokes, the animals they like, or drawings of their pets. These unique stickers are more special than any sticker you can buy in a store.
For social media, you can make digital stickers that show off your personal brand or who you are. You can use them in your stories, posts, or as your own custom emojis in different messaging apps. The same design ideas work here. Keep your stickers simple, make sure they stand out, and always match your own style.
Here are some good and fun sticker gift ideas you can personalize for people.
- Portrait Stickers: Make fun sticker drawings of your friends, your family, or your pets as cartoons.
- Themed Sticker Sheets: Put together a sticker set for one holiday, like Christmas or Valentine's Day.
- Quote Stickers: Make stickers that use their favorite quotes with bright colors and cool fonts.
- Hobby-Themed Stickers: Create stickers about the things they like, such as books, plants, or gaming.
Step-by-Step Guide: Making Stickers Without Special Machines
You do not have to buy any fancy sticker maker or a cutting machine to make good stickers in your home. You just need some basic things to get started. It is easy to go from your idea to a finished sticker with this method. This is great for new users or anyone who want not to spend much money.
This guide shows you how to make stickers in four easy steps. First, you make your design. Next, you print the design on the sticker paper. Then, you cut out the sticker. Last, you add something over it to protect it. You do not need anything new because most people have the things you need at home. Printing stickers like this is quick and simple.
Step 1: Sketch or Select Your Design
The first thing you need to do is pick your sticker designs. You can make almost any kind of sticker you want, so feel free to get creative! You can draw your artwork by hand. Use markers, colored pencils, or paint on paper to make your sticker. This is a good way to give your sticker a personal feel and make it stand out.
You can also look for graphics online or make your own with a computer. You can use your own photos, digital drawings, or text designs. If you get images from the internet, check that they are okay for personal use, so you do not run into any copyright trouble. You can cut out cool pictures and words from magazines to make a collage-style design.
Once you get your artwork ready, you can put many designs on one page. You can use a word program or design software for this. The designs can be printed together so you use less paper and save time. Make sure you leave some space between each picture. This will help you cut out the stickers later.
Step 2: Print Your Design on Sticker Paper
Once your designs are set, it's time to move on to printing. Before you start, make sure the sticker paper matches your printer—for example, an inkjet or a laser printer. You can find this information on the sticker paper box. Using the right paper with the printer helps stop the ink from smudging. It also makes the colors of your sticker look good.
Place one sheet of sticker paper in the paper tray of your printer. The side your printer prints on will matter a lot for the sticker. Make sure you use the right side. That way, your design goes on the sticker part and not on the back. A good way to check this is to mark a normal sheet of paper with a pencil, then print on it. This will help you see which side gets the print.
In your printer settings, pick the highest quality print option you can find. This helps make lines sharp and colors look bright. If the printer has a special setting for glossy paper or labels, you should use that. This can make your printing look even better. After you finish printing, wait several minutes and let the ink fully dry. This way, you will not get any smudges when you touch it.
Step 3: Cut Out Your Stickers Precisely
Now that you have your designs printed, it is time to cut them out. For this part, you will need a good pair of scissors and a steady hand. Do this on a clean, flat surface to help you stay in control and get the best results.
For a classic sticker look, cut around your design and leave a small white border. This makes the sticker stand out from the rest of the artwork. A white border is also easier to cut compared to trimming exactly on the edge of your artwork. If you have more than one size of scissors, try using a smaller pair. Smaller scissors help you to cut the details and work better for tight corners when making a sticker.
If you want to try something new, you can use scrapbook scissors for your sticker paper. These scissors cut edges in fun shapes like waves or zig-zags. If your sticker sheets have more than one sticker design, you can use an X-Acto knife. Score lightly around each sticker. This helps you peel off each sticker on its own but keeps the backing with the rest.
Step 4: Add Adhesive or Laminate for Extra Durability
If you printed your stickers on regular paper, or if you want them to have more protection, this last step is important. You need to add something sticky, known as adhesive, or put a layer of laminate on your stickers. Doing this will get your stickers ready to use. It helps them last a long time. This step is good if you want your stickers to not get ruined by water.
A good way you can try to laminate your sticker at home is by using packing tape. Take a piece of clear tape and put it over your sticker design. Smooth it out with your hand to help remove any air bubbles. Next, cut off the extra tape around the edges of your sticker. This will give your sticker a shiny cover and keep it safe.
Here are a few ways to add adhesive or protection:
- Packing Tape Laminate: To keep your design safe from water, put clear packing tape over the front before you cut it out.
- Acrylic Spray: Use one or two coats of acrylic spray to give your design a lasting and shiny finish.
- Double-Sided Tape: When you print your design on normal paper, stick double-sided tape to the back of it.
- Homemade Adhesive: If you want a safe and simple way, you can brush homemade glue on the back of your paper design. Use packing tape and other adhesive to make your crafts last longer.
Creative DIY Methods for Making Stickers from Scratch
Yes, you can make great stickers just by using simple things that you have at home. You do not have to buy special sticker paper. There are many fun ways to do this with packing tape, paper, and glue. These everyday things help you get the same feel as a store-bought sticker. It is a good way to be creative and save money.
If you want to make clear stickers, you can move ink onto pieces of tape. Another way is to use wax paper and double-sided tape to make easy designs that you can peel and stick. Both ways are simple and you will have fun while doing it. Let’s look at some of the most common DIY steps to make stickers from scratch.
Making Simple Paper and Tape Stickers
One good way to make stickers at home is by using paper, double-sided tape, and wax paper. You can use this to turn something you draw or cut out from a magazine into a sticker, and it takes only a few minutes. All you have to do is make your design, then stick tape on the back to make it sticky.
Start by sketching or cutting out the picture you want for the sticker. Put some double-sided tape on the back side, and make sure the whole thing is covered. Then, use scissors to cut away any extra tape at the sides. Your sticker is ready to go!
If you want to keep your stickers to use later, you can put them on a sheet of wax paper. The waxy surface stops the adhesive from sticking too much. This way, you can peel the stickers off when you want to use them. Here’s a simple breakdown:
- Create Your Design: Draw, print, or cut out the image you want on paper.
- Apply Adhesive: Put double-sided tape on the back of your design.
- Trim the Edges: Cut off any tape that sticks out from the edge of the design.
- Store or Stick: Put the sticker on a flat surface or use wax paper to store it until you want to use it.
Packing Tape and Glue Techniques
The packing tape transfer method is a simple way to make clear stickers. You get a design that uses water-resistant ink. The design can be found in the pages of shiny magazines or made with some printers. Cover the front part of your design with a piece of clear packing tape. Press down hard on the tape. Try to make sure there are no wrinkles in it.
Next, put the paper under some warm water. Or, you can put it in a bowl of water and let it sit for a few minutes. The paper will begin to break down. You can rub it off slowly. The ink will stay on the sticky part of the tape. Let the tape dry all the way. The adhesive will be sticky again, and you can use it as a clear sticker.
Another good way to make a sticker is to use homemade glue. You can mix unflavored gelatin, boiling water, and some sugar for this. The adhesive you get will be simple and non-toxic. Source: Skip to My Lou, [https://www.skiptomylou.org/how-to-make-homemade-stickers/] After you make the mix, brush a thin layer on the back of your paper design. Let it dry. When you want to use the sticker, lick the back, just like a stamp.
Hand-Drawn Sticker Ideas for Beginners
The easiest way to make custom stickers is to start with simple, hand-drawn artwork. You do not need to be a professional artist for this. You can get unique stickers by drawing basic shapes or easy patterns. You can also sketch your favorite doodles. Think about what makes you feel good. Food with faces, cute animals, or simple flowers are all fun ideas for artwork.
Lettering can be a good way for beginners to start. You can use your name or pick a word you like. A short phrase that gives you a push can work too. Try out the different ways there are to write things, like bubble letters or fancy cursive. This helps you find what look you like best. Go for colorful markers or pens to make the art stand out. Even simple designs turn fun with some color.
If you want some ideas, you can look online for design templates or simple drawing guides. The main thing is to enjoy it and to make something that shows who you are. These hand-drawn stickers feel special and stand out from the rest. They let people see your style. Using templates can help you get started and have a good time.
Tips for Waterproofing and Protecting Your Stickers
Making stickers that last is key. It matters a lot when you want your stickers to stay strong in water or with other people touching them a lot. To keep your stickers safe and make them waterproof and tough, you should put a protective layer on them. You can do this right at home. You only need some simple things to get started.
If you want your stickers to last, you can cover them with tape or use a clear sealant. This step will help keep the designs safe from water, scratches, and their colors fading. Let’s look at some good ways you and other people can make stickers more water-resistant and protect them well.
Laminating Stickers at Home
Laminating your sticker helps keep it safe from water and damage. One of the best and easiest ways to do this at home is with packing tape. After you print and cut out the sticker, you can get a piece of packing tape. Place the tape over the top of your sticker. Make sure that the packing tape is a bit bigger on all sides, so it covers the sticker well.
Put your sticker face up on a sheet of wax paper. This will help keep it in one place. Take the packing tape and start to lay it over the sticker, starting at one edge. Go slow and smooth it as you lay it down. This can help stop air bubbles from forming. Be sure to do all this on a flat surface. After you have put the tape on the sticker, press it down firmly.
Finally, take your scissors and cut away the extra tape around the edges of your sticker. You can leave a little bit of tape at the edge so it will seal well. This easy way gives your sticker a shiny, water-resistant layer. Your sticker will stay looking good for a long time.
Waterproof Adhesives and Sealants
To make your stickers last a long time, you need to use good materials. Waterproof vinyl sticker paper is the best option. This type of sticker paper can keep out water and hold up well outside. That is why it works so well for things like water bottles or cars. If you want your sticker to look good and stay on, choosing vinyl is the way to go.
Besides using waterproof paper, you can use sealants for more protection. A clear acrylic spray sealant is a good choice. After you print and cut the sticker, spray on one or two light coats. This adds a shiny layer that keeps the ink safe from water and sunlight.
Here are a few of the best materials you can use for waterproof stickers:
- Waterproof Vinyl Sticker Paper: This is the sticker paper that is the most tough and lasting base you can get.
- Waterproof Ink: When you use this ink with vinyl, you get the best protection for your sticker.
- Clear Acrylic Sealant: This is a spray you can put on easily. It adds a strong outer layer to the sticker.
- Self-Adhesive Laminating Sheets: These sheets give your sticker a smooth, clean look and do not make bubbles. You do not need a machine to use them.
Best Practices for Long-Lasting Stickers
To help your stickers stay nice for as long as they can, there are some things you should keep in mind right from the start. It’s important to pick the right sticker paper when you first make your sticker. If you are going to put the sticker in a spot that gets touched a lot, try to use vinyl. This type of sticker paper is strong and works well for high-touch areas.
When you put on your sticker, make sure the surface is clean, dry, and flat. Dirt or water can make the adhesive less sticky. This can make the sticker start to peel. Press the sticker down and smooth it out from the middle to the edges. This helps move out any air bubbles or wrinkles. A good seal will last longer and look better.
To make sure your sticker lasts as long as it can, follow these best practices:
- Choose the Right Paper: Pick vinyl sticker paper when you want the sticker to last or be waterproof.
- Apply a Protective Layer: Put packing tape or a clear sealant on top to keep the ink safe.
- Clean the Surface: Place stickers on something clean, dry, and smooth.
- Handle with Care: For shipping, keep stickers flat so they do not bend or get creased.
Selling Your Homemade Stickers: What Beginners Should Know
If you like to make custom stickers, you can try to turn that into a small business. Selling stickers can be fun, and you can also make some money from it. But, there are a few things you should know before you start. It is not only about making good designs. You also have to think about how the business side works.
From setting the price of your products to making packaging look nice, being ready is important. You should also know about the legal things you need to do. A bit of planning the work can really help you. If you show your homemade stickers well and have a clear plan, you will have a better chance to do well. Here are some important tips on how to sell your stickers.
Pricing, Packaging, and Presentation Tips
When you are ready to sell your stickers, how they look matters a lot. The way you package your stickers can leave a lasting mark on the people who buy from you. You can put your stickers in small clear bags with a card that has your brand name on it. This will help the stickers look good and feel special. It also helps keep them safe when you send them out for shipping.
Pricing stickers can be hard, but the best way to start is by looking at what you spend on your materials and the time you use to make them. Check what other people are selling their stickers for to know the market price. Don't sell your work for less than it is worth!
At the end, take some time to think about how you will get orders to your customers to meet their unique needs. Here are a few tips:
- Invest in Good Packaging: Use strong mailers so stickers do not bend when they are shipped.
- Create Sticker Packs: Put several stickers with a similar style together to make your sales feel like they have more value.
- Take High-Quality Photos: Good pictures are very important when you want to sell stickers online.
- Include a Personal Touch: A short thank-you note can make people want to come back and buy from you again.
Legal Considerations and Copyright
One big part of selling stickers is knowing about copyright law. You have to be sure that you are allowed to use and sell the artwork on your sticker designs. The best way to stay safe is to sell sticker designs that you make yourself and that are your own original work.
If you use graphics, fonts, or images made by someone else, make sure you read the licensing agreement first. A lot of websites let you download images with a commercial license. This gives you the right to use those images in things you want to sell. But if you use popular characters from things like movies, TV shows, or video games and you do not get permission, you break copyright rules. That can bring serious trouble for you.
Before you get into selling, it is good to learn the basics of copyright and trademark law. You should always create or use artwork if you know you have the right to earn money from it. This is the best way to protect you and your business over time.
Where to Sell: Online Platforms and Local Markets
Once you make your own custom stickers, you will need somewhere to sell them. There are many good ways to start, from selling online to selling at local events. A lot of people like setting up a shop on an e-commerce site like Etsy. This site gives you a big group of people who are already looking for new and special things to buy, so it can help you get your custom stickers out to more people.
You can also use your own website or your social media pages to sell stickers. This lets you have more control of your brand and the way you connect with your customers. Do not forget about selling in person. Local markets, craft fairs, and conventions are all good ways to meet customers and sell your products face-to-face.
Here are a few places you can sell your stickers:
- Online Marketplaces: The websites like Etsy and Amazon Handmade let you reach many people. You can get your products in front of lots of buyers.
- Your Own Website: You can use Shopify or Squarespace to make your own online store. This gives you full control over how you want your store to look.
- Social Media: You can sell your items right to people who follow you on Instagram or Facebook. This can be a good way to reach your fans.
- Local Markets: You can rent a table or booth at a craft show, farmers’ market, or local art festival. This helps you meet the buyers face to face.
Conclusion
Making your own stickers is a fun and easy way to show your own style. You just need simple things and the clear guide in this blog to make unique stickers. You can make your sticker designs with a computer or with your hands, and both ways let you be creative. There is no limit to what you can make. If you want, you can use your sticker hobby to earn money by using the selling tips we give. So, grab your things and start making your own stickers right now! If you want to learn more about DIY sticker and other crafts, feel free to contact us or check out new ideas today.
Frequently Asked Questions
Can I make stickers without a printer or cutting machine?
Yes, you can make your own stickers at home. You do not need any special tools for this. You can draw your own designs or cut pictures out of magazines. After that, put an adhesive like double-sided tape on the back of each one. If you want the stickers to peel off easily, use packing tape on both sides. You can also keep your stickers on wax paper. This makes them easy to take and use when you need them.
How do I make stickers that last on water bottles or laptops?
For stickers that last a long time, start with waterproof vinyl sticker paper. After you print your sticker design, put on a clear laminate layer. You can do this by using self-adhesive sheets or packing tape. This helps keep the sticker safe from water and scratches. A strong, permanent adhesive makes sure your sticker stays in place on things like laptops and water bottles.
What’s the easiest way to design custom stickers for beginners?
The easiest way for beginners to make custom sticker designs is to use a free site like Canva. You can choose from ready-made design templates and change the text and colors to fit what you like. This way, you do not have to make new artwork from the start. It is much simpler, but you can still get beautiful sticker designs with these templates.
Are homemade stickers safe for kids to use and share?
Yes, homemade stickers can be good for kids, especially if you use safe and non-toxic sticker paper and adhesive. A simple glue you make with gelatin and sugar is nice for kids’ crafts. It is always smart to watch kids when they work with scissors. If you want to sell or do shipping with stickers, pick sticker paper that is certified as safe for kids.