Key Highlights
Here are the main things to remember when you want to print your own vinyl stickers:
- Start making your own custom stickers with an easy-to-use design program.
- Use an inkjet printer if you want your printing to be bright and look good while making your vinyl stickers at home.
- Always use printable sticker paper that works with your printer to get the best results.
- A cutting machine like a Cricut or Silhouette helps you get neat and tight cuts for your sticker shapes.
- After you print, put on a laminate sheet. This will make your vinyl stickers waterproof and more strong.
- Don't forget to do a test print first to see if the colors are right before you use your final sticker paper.
Introduction
Have you ever thought about making your own vinyl stickers to use for crafts, put on your laptop, or stick to a water bottle? You will see that making custom vinyl stickers at home is not only easy to do but can also be a lot of fun. You just need sticker paper, a printer at home, and some creativity to get started. With these, you can make ideas in your head become real stickers. This guide will show you every bit you need to know, like how to make your images, print your vinyl stickers, and cut them out so they are ready to use. Let’s start and see how you can enjoy printing and making your very own stickers with your own printer.
Essential Supplies for Printing Vinyl Stickers at Home
Before you can begin making your own vinyl stickers at home, you have to get some important things first. A small initial investment in the right gear will help make your sticker projects look good and turn out well. What do you need to print vinyl stickers at home? You should have a good printer, the right kind of paper (vinyl works best), and something to cut your stickers in a neat way.
Having these items ready will help the process go well and feel fun. The key tools are an inkjet printer, vinyl sticker paper, and a cutting machine. With the inkjet printer and sticker paper, you can print your sticker designs easy and clear. The cutting machine helps you get sharp edges for every sticker. After you have these, you can make your digital sticker designs into real, vinyl stickers with no mix-ups.
Choosing the Right Printer and Vinyl Sticker Paper
Yes, you can use a regular inkjet printer to print on vinyl sticker paper. Most inkjet printers work well for this kind of job. They give bright colors and clear details, which help your stickers look good. A lot of people like models from the Canon PIXMA series, since they work well with many types of sticker paper, including vinyl sticker paper. A laser printer can also print on vinyl, but you need to make sure the vinyl sticker paper you have is made to handle the heat from a laser printer.
For most people who make things at home, an inkjet printer is a good and useful choice. You can use this printer with many kinds of sticker paper, like vinyl sticker paper. When you print stickers, it is better to use pigment-based inks instead of dye-based inks. Pigment-based inks do a better job of keeping water out, so your stickers and vinyl last longer and have better durability.
| Printer Type | Best For | Key Consideration |
|---|---|---|
| Inkjet Printer | Vibrant colors and detailed designs. | Use pigment-based ink for better water resistance. |
| Laser Printer | High-speed, smudge-proof printing. | Must use vinyl paper specifically made for laser printers to avoid heat damage. |
Recommended Design Software for Beginners
To design vinyl stickers, you do not have to be an expert in graphic design. A lot of easy software programs can help you get started with sticker designs. One good choice is Canva. It has simple tools you drag and drop, plus there are a lot of templates to use. With this, you can make your sticker without much trouble. If you want more features, you can try Adobe Illustrator or Photoshop. These are big names in the field and many people use them for both simple and advanced sticker work. With any of these, your vinyl sticker ideas can become real.
Even a basic program like Microsoft Word can be used for some simple layouts. If you have a cutting machine, like the Cricut Maker or Silhouette, you can use their special software. Cricut Design Space and Silhouette Studio are made for this. These programs help you make designs and set them up so your cutting machine can cut them just right.
Here are a few great options:
- Canva: This is great for people who are just starting out. It comes with a lot of free templates.
- Cricut Design Space: The software is a good fit for anyone who has a Cricut machine.
- Adobe Illustrator: This is a top choice for people who want to use their creativity without limits.
- Silhouette Studio: If you use a Silhouette machine, this is the tool you should work with.
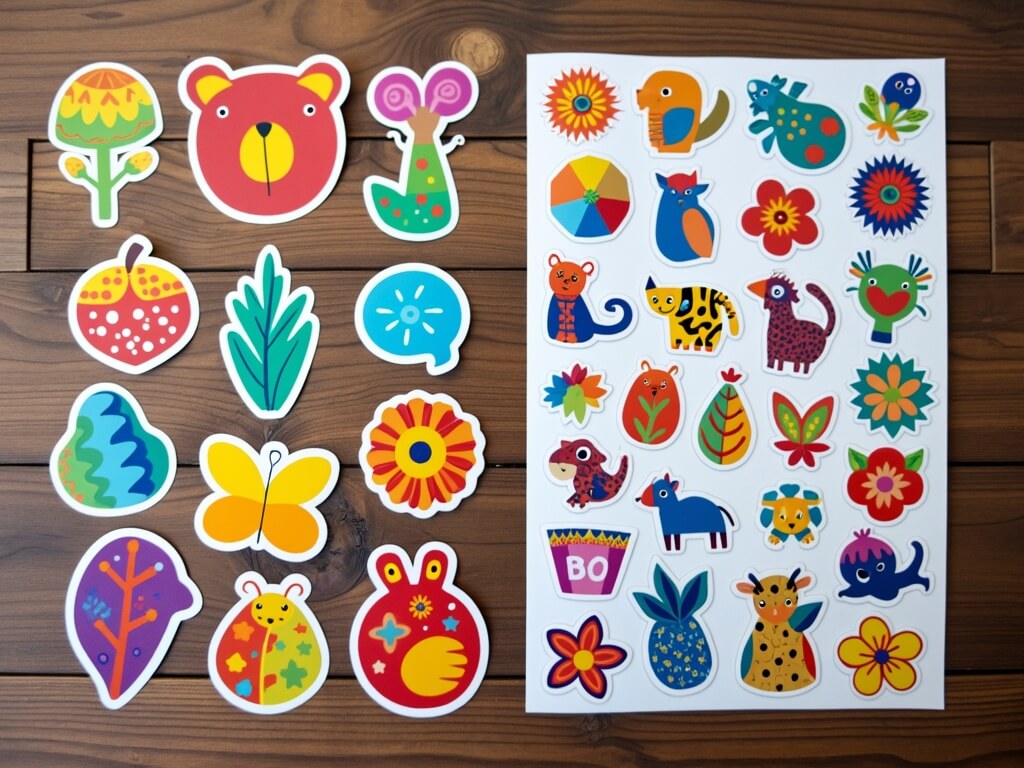
Designing Your Custom Vinyl Stickers
The best part of making custom vinyl stickers is designing them. This is the time when your own ideas and style show the most. You can use your own artwork or make something new. The main thing to remember is to start with quality. Always make sure your sticker designs are made in high resolution. This will help your stickers look sharp and clear. If you want your vinyl stickers to look good, use high resolution art from the very beginning.
This easy step helps so your sticker does not look blurry or pixelated. The image needs to be sharp and clear. When you do this, your sticker will look good and feel professional. You will feel proud to show it. Next, we will talk about tips that help you get the best result for your sticker.
Basic Design Tips for Vibrant Results
Yes, there are tips for printing bright colors on vinyl stickers. To get good-looking results, you need to start with a clear design file. Always use a file that has a high resolution. A good choice is 300 DPI, or dots per inch. This helps to make sure the colors look sharp on your vinyl stickers, and the pictures will not appear blurry. Good printing starts with a strong and clear file every time.
When you pick colors for your stickers, keep in mind that the colors you see on your screen may not look the same when you print them. Bright and bold colors usually look better on printable sticker paper. A test print can show you how these vibrant colors look on paper. The finish of your sticker paper also matters. A glossy finish will often make the colors stand out more than a matte one.
For the best results, keep these tips in mind:
- Set your design canvas to 300 DPI.
- Use bold colors that stand out so people can see them easily.
- Think about what kind of paper finish you will use, like glossy or matte, because it will change how your colors look.
- Do not use too many fine details if your stickers are very small.
Preparing Your Files for Printing
After you finish your design, the next important thing to do is get the file ready in the right way. Doing this helps make sure the item you print looks just like what you made on your screen. Start by saving your design in a high-quality format such as PNG or JPG. Make sure you check that the dpi is still set at 300 before you save your final file.
Before you use your good vinyl sticker paper, make sure to do a test print on normal paper first. This step helps you see the right size, colors, and alignment before you waste any vinyl or sticker paper. If something does not look right, you can go back and change your design or the printer settings. Taking this step answers the question, "What steps should I follow to design and print custom vinyl stickers?" because it helps you get a great final sticker. This is an easy way to use some paper for practice so you are happy with your vinyl stickers in the end.
Step-by-Step Guide to Printing on Vinyl Sticker Paper
Now that you have finished the design, it is time to print. Can you really print high-quality vinyl stickers at home? The answer is yes. You just need to watch your printer settings carefully. The right printer settings show your printer how to use the special vinyl sticker paper with ink. This helps make your sticker look its best. It is important to use printable sticker paper and set the printer right to get good results with your vinyl stickers.
Don't just press "print" without looking at the settings. Spend a little time to pick the right paper type and print quality. This can make your stickers look much better. If you use an inkjet printer and set it up the right way, you can get stickers that look great and feel professional, all without leaving your desk. Let's talk about the settings you should use with your printer and inkjet machine.
Printer Settings and Testing Color Quality
To get the best results, you should change your printer settings. In the printer's menu, find where it says paper type. Do not leave it on "Plain Paper." Pick something like "Glossy Photo Paper," "Other Photo Paper," or "Specialty Paper" instead. This will make the printer put on the ink slower and more carefully, which works better for vinyl because of its surface. Also, change print quality to "High" or "Best" for your prints. Using the right printer settings for photo paper and vinyl will help your printer use ink in a way that makes your work look good.
Are there any tips for printing vibrant colors on vinyl stickers? Yes, you should first adjust your settings. Then, do a test print on a normal sheet of paper. This will help you see the colors and how good they look before you print on vinyl. If the colors look dull or not like you want, change them in your design software. A test print is a good way to check your work with vinyl stickers before you do the final printing. This lets you feel good about the printing results.
Loading and Handling Vinyl Sticker Paper
Handling your vinyl sticker paper the right way is important for a good print. Before you put it in the printer, check which side of the paper you need to print on. Most of the time, the glossier and smoother side is the right side for printing your sticker. Put the vinyl sticker paper in the printer’s tray slowly and make sure it is straight. This helps stop jams from happening. Because sticker paper like vinyl is thicker than plain paper, it is better to put in just one sheet at a time into your printer.
Once you print your sticker, do not touch the inked part right away. The ink from inkjet printers needs some time to dry on the vinyl. Wait for a few minutes before you handle it again. This step helps make sure your sticker’s ink does not smudge and adds to its durability in the end.
Here are a few quick handling tips:
- Load just one sheet into the printer at a time. This helps to stop jams when printing.
- Check that you are using the right side of the paper for printing.
- Wait for the ink to dry all the way so you do not get any smudges.
- Keep your unused paper flat in a cool and dry spot. This helps with printing later.
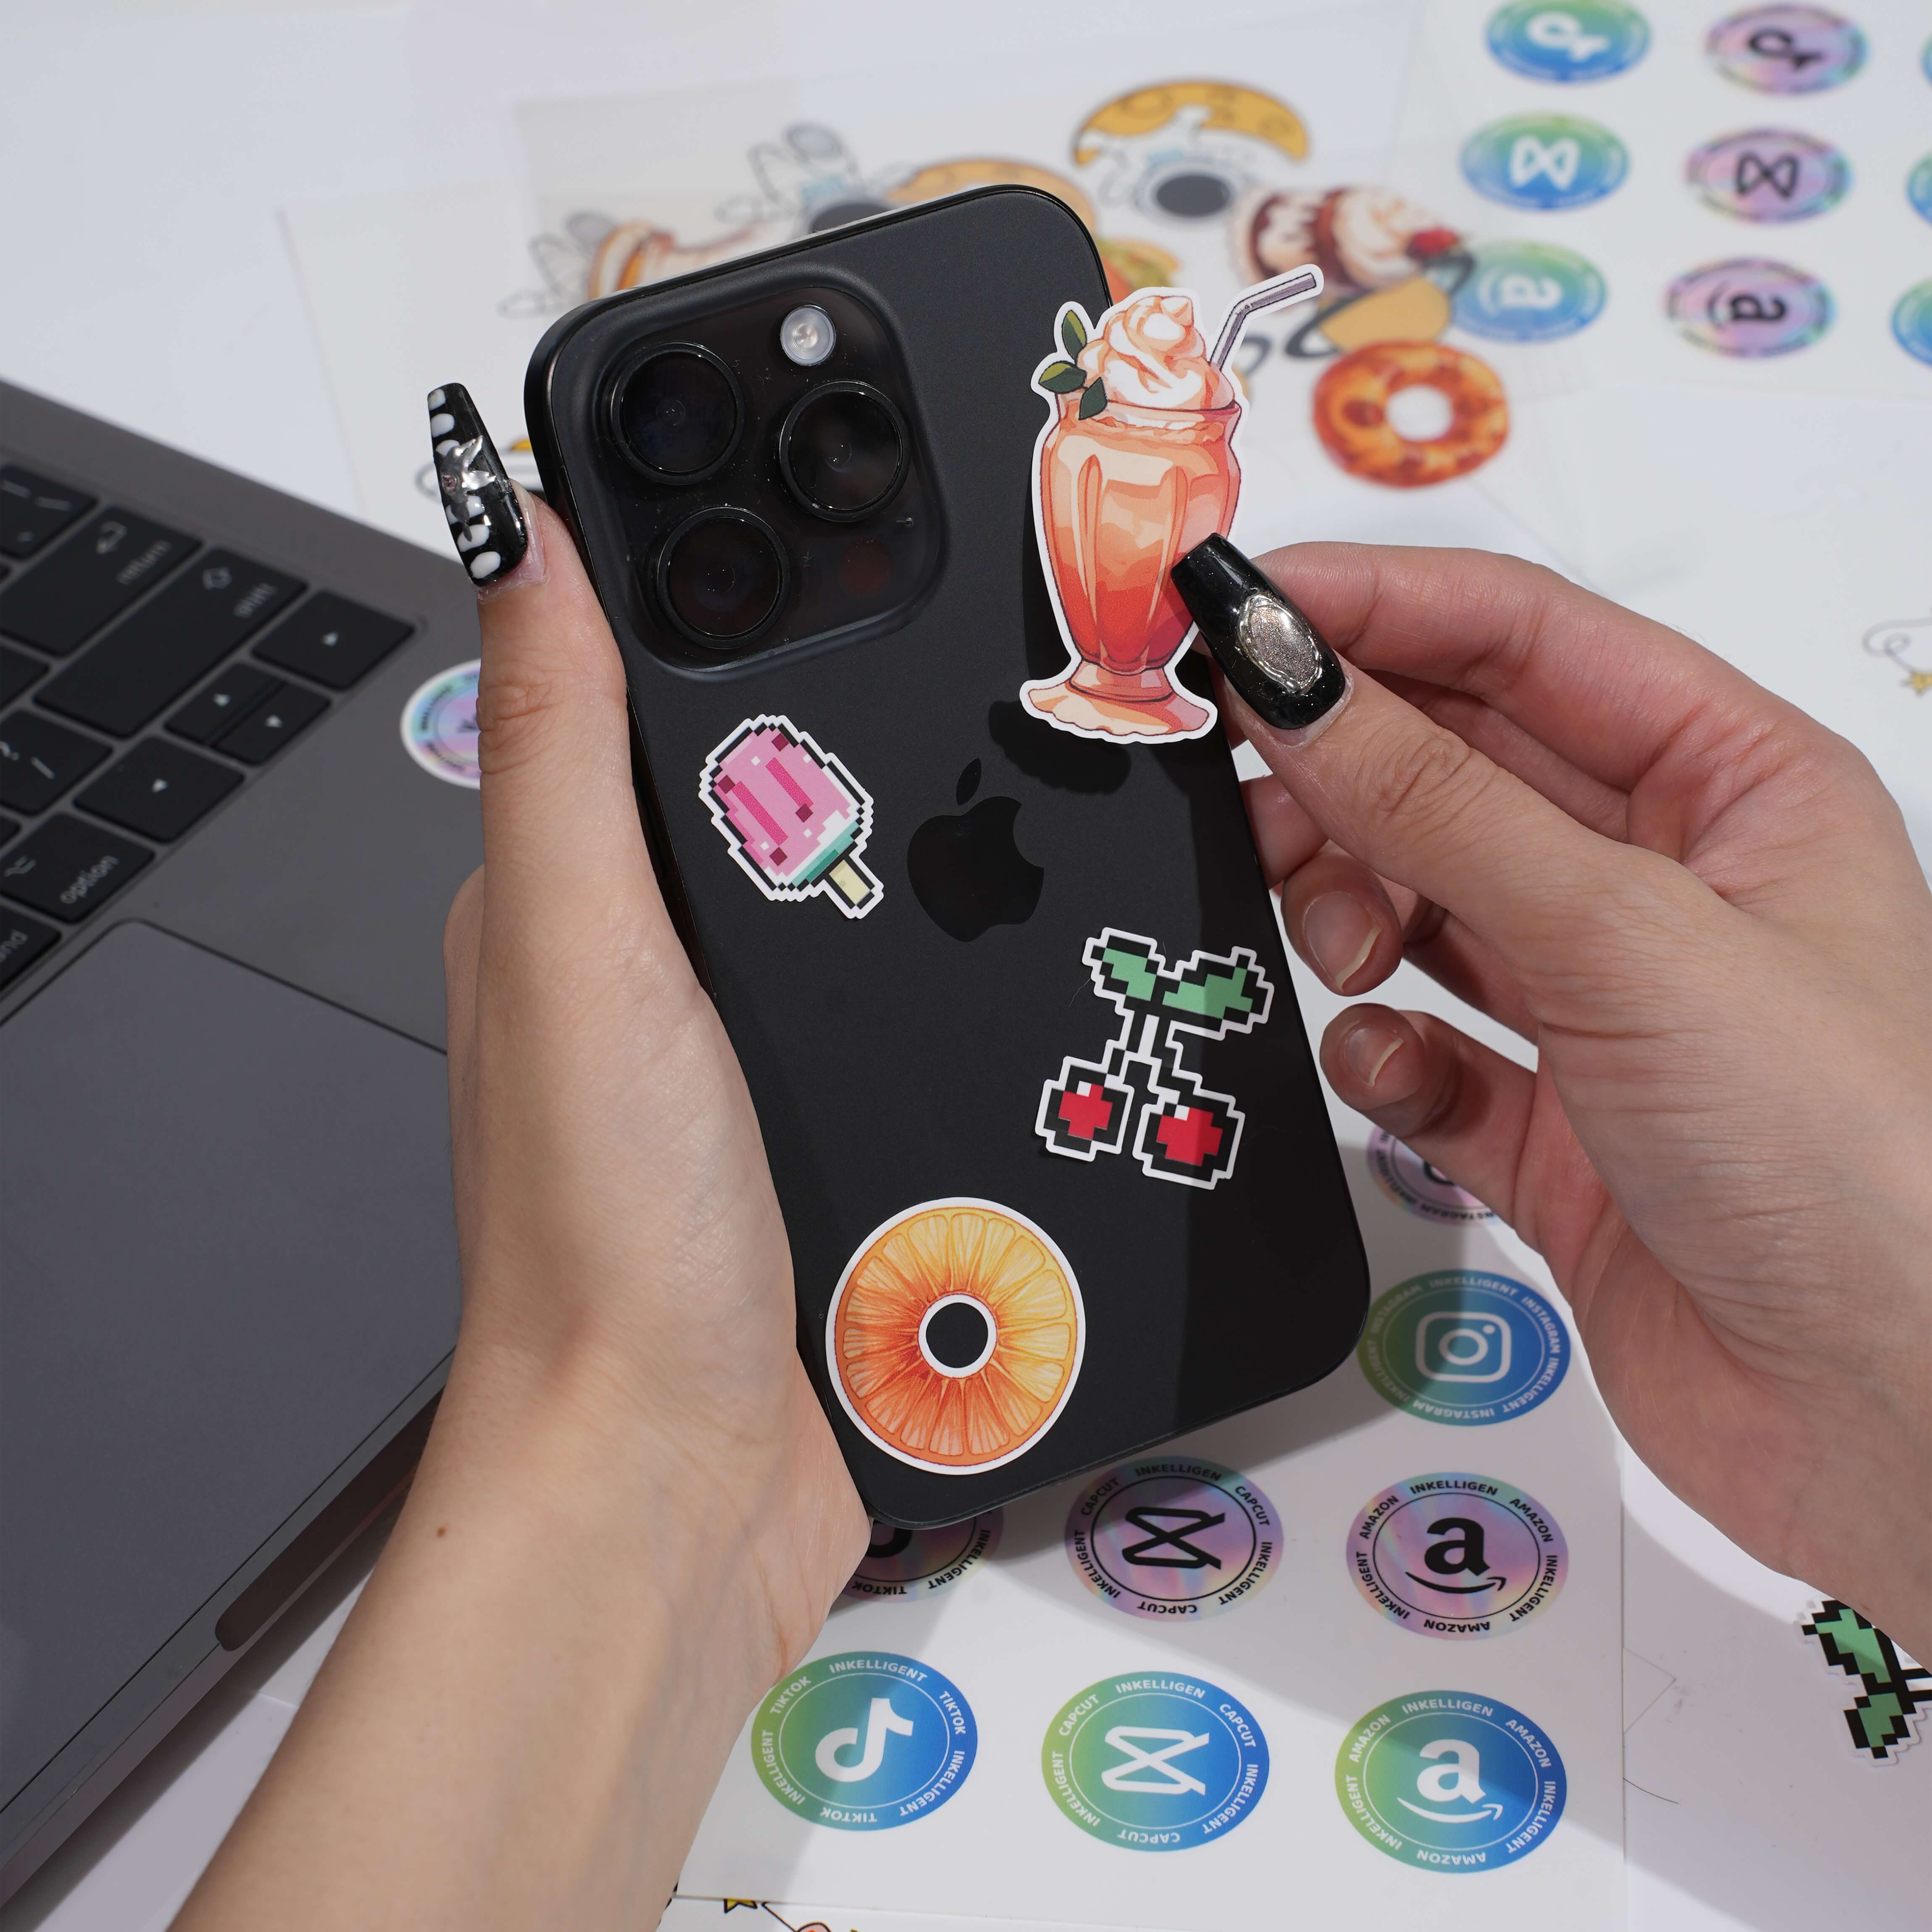
Cutting and Finishing Your Vinyl Stickers
After you print your vinyl stickers and the ink has dried, it is time to cut them out. There are a few good ways to do this. A cutting machine is the top choice when you want sharp, neat cuts and special shapes. You plug in the cutting machine, and it gives your vinyl stickers very clean lines and smooth edges. This means the stickers look good and feel professional. Use this method if you want your stickers to be top-quality after printing.
If you do not have the cutting machine, do not feel bad. You can still do this job well with practice and simple manual tools. This last part takes the printed sheet and breaks it up into single stickers that you can use right away.
Cutting Tools and Techniques for Neat Edges
For the best-looking stickers, you want to use a cutting machine like a Cricut or Silhouette. These cutting machines use a "Print Then Cut" feature. The machine knows right where to cut, that way your stickers look sharp every time. All you have to do is load your printed sheet onto the cutting mat and let the machine do everything for you.
If you cut by hand, you need sharp tools to get clean edges. A good pair of scissors is best if you cut simple shapes, like circles or squares. A craft knife and a cutting mat give you more control for designs that need more detail. The most important thing is to take your time. Use smooth moves when you cut and feel good about each cut you make.
Your cutting tool options include:
- Electronic Cutter: A Cricut or Silhouette cutter helps you get neat cuts every time.
- Scissors: The scissors are good if you want to cut easy shapes, like straight or curved lines.
- Craft Knife: Use this knife for small details, sharp edges, and places you need fine cuts.
Protecting and Laminating Your Stickers
You do not have to laminate vinyl stickers, and you can print them without it. But if you want them to last longer, it is a good idea to add a layer of laminate. A clear laminate sheet helps give the vinyl stickers more durability. It protects the ink from getting scratched or damaged by water and from UV rays that cause the colors to fade. So if your vinyl stickers will be used outside or can get wet, putting on a laminate is the best way to keep them in good shape.
If you want to make your vinyl stickers waterproof, the easiest way is to use a protective laminate. This will help your sticker stand up to water, so you can use it on things like water bottles, cars, or outside. The protective laminate keeps the vinyl safe and also makes it look better. You can choose between a glossy or matte finish when you work with the laminate on your vinyl stickers.
Benefits of laminating your stickers:
- Makes them waterproof and keeps them safe from the weather.
- Keeps them from getting scratches and marks.
- Stops the ink from fading when out in the sun with UV.
- Helps with durability, so they last a long time.
Conclusion
Making vinyl stickers for your craft projects is fun and gives you a sense of achievement. By using this guide, you will learn each step, from choosing the right printer and design software to printing, cutting, and finishing your vinyl stickers. This helps you turn your creative ideas into real sticker art without too much trouble. Try out different designs and methods to see what works for you. The best part of making a vinyl sticker is not just getting to the finished product but enjoying what you do along the way. If you feel ready, get your supplies together, and start printing your own vinyl stickers today. Happy crafting!
Frequently Asked Questions
Can I use a regular printer to make vinyl stickers?
Yes, you can use any inkjet printer to print vinyl stickers. Most inkjet printers work well with printable sticker paper. It is important to pick the right printer settings for good results. So, use "photo paper" as your type. This will help make your stickers look nice and have bright colors. A high-quality print mode will also help with durability. This way, your vinyl stickers will last longer and look better. All you need is the printer, sticker paper, and the right settings.
How can I make my vinyl stickers waterproof?
The best way to keep your vinyl stickers safe from water is to use a protective laminate over your printed design. A clear vinyl sheet with glue on it seals the ink and keeps out moisture. This lets you use your vinyl stickers on water bottles, cars, and many other things for outside use. The laminate also gives your stickers a layer that keeps out UV rays.
Do I need to laminate my printed vinyl stickers?
Laminating is not needed, but it is mostly a good idea for more durability. A laminate helps keep the ink safe from scratches, water, and UV light. If you want to use your stickers for outside use or you think they will get handled a lot, laminate will help them last longer. If your stickers are just for inside use or just for decoration, you might not need to laminate them.